In the almost 5 years of Weekly Photo Tips the "faux" Dave Hill look is by far one of our most popular posts, so here it is again.
If you have not seen the work of Dave Hill you need to, please take a minute (or 10) and look at his incredible images.
Now to imply that the technique I am about to show you is "just like Dave Hill's" would be a like saying my child worn minivan is just like a Ferrari. The only similarities is that they both have license plates, after that all similarities come to an end.
Though the ladies do love my minivan, as it is the "sport" version.
;)
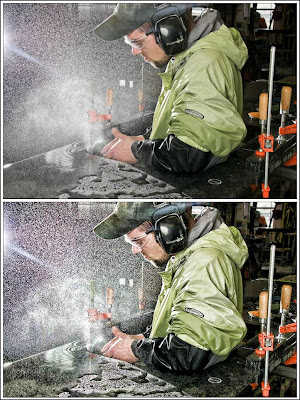
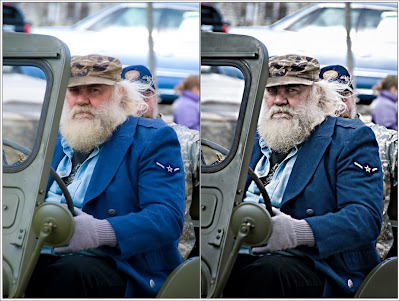
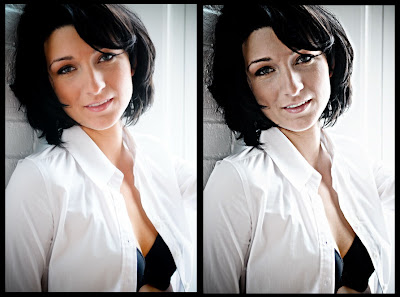
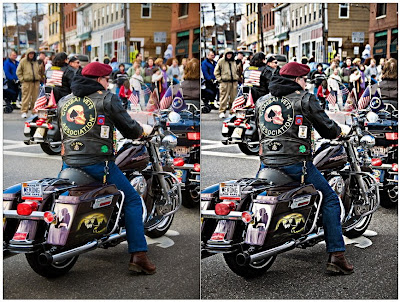
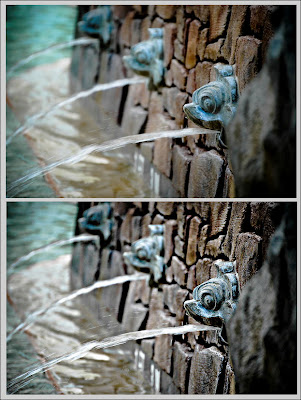
Anyway, the technique I am going to show you will give your images a cool gritty look and works on most images, but it does work best on high key images. Below are several of my examples.
And though it looks like a lot of steps, after you have done it a couple times it will take you only about a minute to complete (really).
So here goes:
Step 1:
Open your image in Photoshop and create a duplicate the layer.
Go to "Filter" - "Other" - "High Pass" set the Radius to 4 Pixels.
On the Layers palette select the "Vivid Light" blending mode.
Flatten the image.
Step 2:
Create a duplicate the layer (again).
Go to "Filter" - "Other" - "High Pass" set the Radius to 7 Pixels.
On the Layers palette select the "Color" blending mode with an opacity of 40%.
Flatten the image.
Step 3:
Create a duplicate the layer (one last time).
Go to "Filter" - "Blur" - "Gaussian" set the Radius to 9.5 Pixels.
Go to "Filter" - "Noise" - "Add Noise" set Amount to 3%.
Got to "Layer" - "Layer Mask" - "Hide All"
Now use the lasso tool and select only the eyes (assuming the image has eyes, for multiple selections hold the shift key).
Go to "Select" - "Refine Edges" - set "Feather" to 5-6 pixels, then "Select" - "Inverse"
Select the brush on your tool palette, set the brush opacity to 30% and brush over the entire image once.
Flatten the image.
Step 4:
Go to "Filter" - "Sharpen" - "Unsharp Mask" and use the following settings:
Amount 100%
Radius 30.0 pixels
Threshold 0 Levels
That's it, give it a try, and I would love to see your results.
If you click on any of the images below they will open larger and in a new window so you can have a better view of how the effect has changed each image.
No comments:
Post a Comment