Driving back from a wedding last night we came across a gas station that (obviously) has not been in operation in some time, but the sign still displays the price of gas on the day they closed.
And I am sure at the time I was thinking "OMG, $1.03 for a gallon of gas, are you kidding me?!"
The "Golden Hour" can be either the first or the last hour of daylight.
What makes it so special?
This is the time when the sunlight is the softer, more diffuse, and warmer than any other time of the day, heck, this light is so good it (almost) has the ability to make me look handsome.
As Vincent Versace says, "people think that early morning is for breakfast and that late afternoon is for dinner, early morning and late afternoon are for taking pictures... the time to be shooting is when the sun rises and when the sun sets because that's the prettiest light... people think they are photographing the subject, they're photographing the light, the subject just happens to get in the way of it, it's how the light hits our subject that makes an image interesting".
And though it can be used to take great pictures of anything (such aslandscapes) I use it primarily for shooting seniors.
Here are a couple samples of some recent "golden hour seniors".
Click on either image to view larger.
If you would like to find out when the golden hour will be appearing in your neck of the woods you can use the online Golden Hour Calculator. Not only is there a web version, but they also have a free (and a paid) app for your iPhone and your iPad.
Another App option (for both the iPhone and iPad) is the Magic Hour, it's free and has a count down clock displaying when the next magic hour will be or when you are in it, how much time is left.
If you use a Speedlight (or a Speedlite for you Canon folks) to shoot events or any situation that has changing light, has you moving around a lot, and requires you to react quickly, then you know how difficult it can be when you want take the flash off your camera and you have nowhere to put it.
If it's a long event it's too heavy to leave on your camera, it's too big to slip into your pocket, and you need to have it close at hand for the next time you need to slide it into the hot shoe.
Clients often ask me where to have there images printed, and from personal experience, I know where to tell them NOT to have their images printed.
I remember the first 16 x 20 black and white image I had printed, it was at a "big box store", I was so excited to pick it up and how quickly that excitement was replaced with a profound feeling of disappointment when I saw that my print was not black and white at all, it was actually a green and grey. It sucked, it REALLY sucked.
Keep in mind if you are reading this post (and viewing these images) on a crappy uncalibrated monitor going any further would probably be a waste of your time.
Okay, now that only those with fancy shmancy calibrated monitors are left, let's move forward.
I have been in a "slow shutter" kinda mood the last couple of weeks (in case you missed the two previous posts can find them here and here).
This image was shot this past weekend while photographing yet another wedding, it was on the coast of Maine, and it was foggy, dark, drizzly night.
I kept the camera still by balancing it on the porch railing.
The image has an exposure of just over 1/2 second and an ISO that was at 5,000. I was fine with the noise because I knew this shot was going to be a black and white.
Because the shutter was open so long (and the ISO so high) the light spilling out of the windows of the reception hall lit the front of the tree, and the lights in the parking reflected off the "drizzle" nicely.
Looks like something you would see on Dark Shadows.
If you are familiar with that show you are old (almost as old asme). :)
Click on any of the images above to view larger, and if you click on the Flickr names you will be taken directly to their Flickr streams and you'll get to see more very cool images.
In the early days of my photography shooting into the sun was a no-no, a hard and fast rule "never shoot into the sun".
Not only was that a hard and fast rule, but shooting in direct mid-day sun was not something I would do because with your subject facing the sun they would be squinting so hard it would look like their eyes were nailed shut and to shoot with the sun on the side would give you half of a face that was too bright, and/or the other half too dark.
So I would either find shade, or just avoid that time of day.
Then a couple years ago I was in LBI New Jersey shooting a wedding with Stacey Kane and had my eyes opened, the wedding ended in the early afternoon and the "formal portraits" had to be done immediately after the ceremony and the only place to shoot was a gravel parking lot, lots of bright sun, no shade to be found anywhere.
Stacey put folks with their backs to the sun and with me shading her lens she shot away, these are the kind of images she got.
The quality of the image and the beauty of the back-lighting converted me into a "shoot into the sun" kinda guy right then and there.
Though there was a problem, when shooting alone (which is often for me) I have no-one to shade my lens, and depending on the angle of the sun the lens hood doesn't give me enough shade coverage, both of these are big problems.
That is until I got a flexible lens shade, the lens shade attaches to the lens hood via a Velcro wrap significantly extending shade coverage (no lens hood? It will also attach to the lens itself), it's very light weight (barely over an ounce), and is so flexible I can shape it to give me shade regardless of the angle of the sun.
The flexible lens shade is made out of a ballistic nylon shell, has double stitch sewing on the seems making it durable, professional, and lightweight. Because it stores flat it takes up almost no room in your camera bag.
Here is an image from a senior shoot earlier this week, shooting into the sun, shade provided by the lens shade.
A cool feature about the lens shade is that because it's so flexible you can easily bend it up and out of the way if you want to capture in image with a bit of "flare".
There are some tricks to shooting lens flare and here are two very good tutorials, one from the Digital Photography School and the other from Expert Photography (which also includes how to shoot flare using speedlights).
I'll wrap up today's post with two things, first letting you know you can get the flexible lens shade from Adorama for just $39 and the shipping is free and with our video review below.
But I am not here to profess my love for Kevin, but to let you know that for the next 3 days (September 20 - 22 from 9am - 4pm) you can watch his workshop, Lightweight Location Lighting, for free!
Here's more about the workshop:
"Learn to create studio quality lighting under almost any condition! With lightweight, affordable, and portable lighting tools, Kevin Kubota will teach you to create beautiful portrait lighting in a variety of environments from typical urban locations to more challenging situations. And after every shoot, Kevin will download and show how he quickly processes and enhances his images in Lightroom and Photoshop before even leaving the scene!"
Topics to be covered: • Essential lighting skills and concepts • Making your own lighting gear and making the most of the lighting gear you own • Other camera accessories that enable better lighting • The thought process behind creating a portrait or editorial style image • Getting high-end lighting with speedlights and smaller battery-powered lights • Lighting modifiers: which work best and what to use in a given situation • Managing the shoot and working effectively with your subjects • Image workflow: download, organize, and edit in Lightroom while still on location at the shoot • Image enhancement: Why enhance and using Lightroom and Photoshop to impart your unique vision
Not to worry if you have the next three days committed to other things, you can pre-purchase the entire 3 day workshop for just $99!
If you are looking to understand on location lighting, if you want to learn about low cost, no cost, and DIY lighting solutions, if you want to learn from a person who has done it all (and more) in his own photography practice, then Lightweight Location Lighting is what you have been waiting for.
For those of you who do attend, we would LOVE to hear about your experience.
Here's a "sister" post to yesterdays slow shutter "happy accidents".
This is an image of a skateboarder from a couple nights ago, the intent was to shoot him "still" while we blurred the movement of another boarder and biker that would be in frame (click on the image to view larger).
The easiest way to accomplish this was to use the ambient city lights and shoot slow shutter. Here are the particulars on the image:
Aperture: f/1.8 (this allows the camera to "drink in" more light and the shallow depth of field adds to the motion blur) Shutter Speed: 1/60s ISO: 2000
And here are the things I do (and you can to) to get the best possible image while "dragging the shutter":
* If you have a VR (Nikon - vibration reduction) or IS (Canon - image stabilization) lens, use it
* Set the camera to burst mode so it will grab 5-7 images with a single depression of the shutter button
* Focus on your subject and then "lock it" so you don't have to hold still even longer as auto focus tries to grab focus on your subject (or anything else in frame)
* Brace your elbows down at your side
* If there is a wall, doorway, or street sign available use it to lean against, it provide even better stabilization
* Take a slow deep breath, then exhale half way and hold
* As you hold your breath slowly depress your shutter button and capture a series of 5-8 images
I good rate is about 50% in focus, but dont' be surprised if it's much lower as you first start using this technique.
Give it a try, and we would love to see your results.
Maybe accident is a bit strong, but these images did turnout better than I had expected.
This past weekend I traveled to New York to shoot a wedding that was held on a beautiful property that sat right next to a pond.
At dusk Tiki torches on the island in the middle of the pond were lit.
During some down time, after the sun had dropped significantly below the horizon but while there was still a bit of a glow behind the trees I thought I would do a bit of experimenting.
I wanted to pull in as much light as I could through the shutter, but also knew I could not hand hold the camera that long, so I dragged a small table to the side of the pond, set my camera on it, started playing with shutter speeds, each time gently hitting the shutter button (so as not to move anything) and let the camera do the rest.
The first image has an exposure of 1.6 seconds, the second image has an exposure time of 2.5 seconds, because the shutter was open for so long you can see that the water is smoothed out and the clouds are not tack sharp.
The ISO is also high so you might see just a bit of noise.
What you see is how they came out of the camera (other than RAW conversion).
I will edit them a bit more and will likely choose one for printing.
The purpose of this post and showing you these images is to encourage you to experiment, go try something different.
Heck, it's digital and won't cost you a penny, the results may be good, maybe not, but you wont know until you try.
Feel free to click on either image to view larger.
Click on any of these images to view (much) larger.
"What you see here is the barrique cellar (or barrel cellar) designed by Italian architect Renzo Piano for the company "Rocca di Frassinello" in Tuscany.
What an amazing place. It is impossible to describe the silence and the scent of wine which fills the place. It is really close to being in church (well, scent of wine apart...)."
"The sand dunes in the Dubai area at sunset are just spectacular. The great sky and the moving clouds doubled the awe while we were there looking at the light change. I took some shots, many shots, but the temptation to just stand there and enjoy the view was strong."
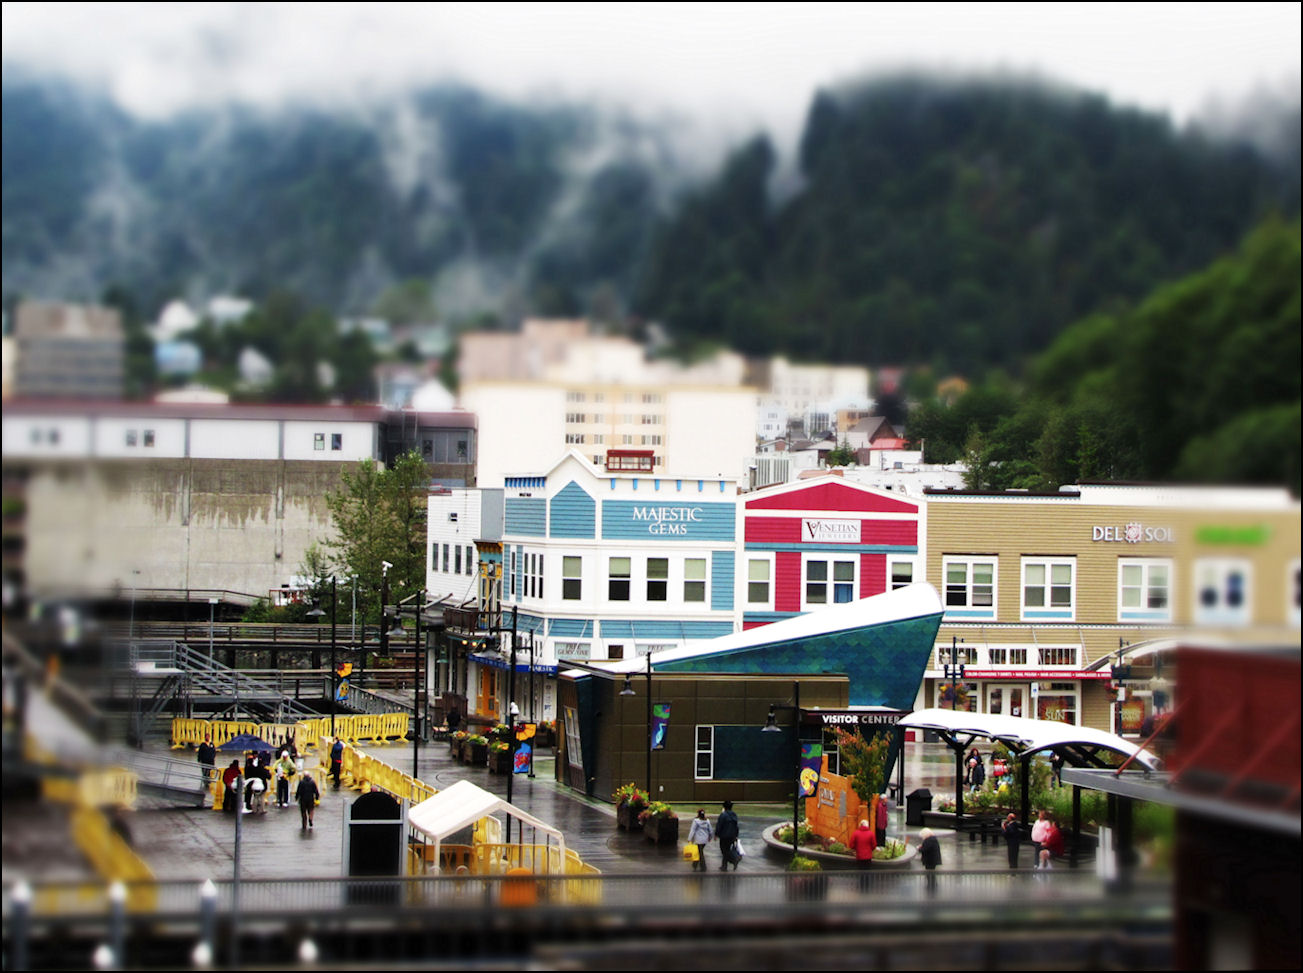
"Last Sunday it rained almost all day, the streets were empty and silent and this is something unusual for a busy city like Rome."
"This is one of the "side shots" I take when I go out with my camera looking for nice locations. I had just taken a very different picture I'm still working on, and which I'll post soon enough, when I had the chance to capture this moment."
"A great sky welcomed us on our first evening in Paris. The Bateaux-Mouches was not in sight when I started to take the 5 exposures but it fits perfectly, I think."
Here is more information and links from people waaaaaay smarter than yours truly that should have included in our last Nikon D800 post.
For me, my love affair with the Nikon D800 started with the very first images I saw, and they were from wedding photographer Cliff Mautner.
Cliff Mautner - "Speed and power, without compromise. That's how I'd sum up my impression of this camera. Old world, medium format image quality is now inside a phenomenal, incredibly responsive Nikon body." Read his full review and see those stunning images here.
I have written many times about Ken Rockwell (like here), I do not make a hardware purchase without first checking out what Ken has to say about it.
Ken Rockwell - "The D800 is the best DSLR ever made by anyone at any price. I've got a D800 already, and have a D800E on order. There is no comparison." Read his full review here.
Photographer Fred Miranda has one of the most thorough reviews with the most sample images in the web.
Fred Miranda - "There's no question that Nikon produced an exceptional camera. In fact, many photographers will gravitate towards it because of the high resolution. As far as I'm concerned, the big attraction is the incredible dynamic range. Especially in the 100-400 ISO range, which is critical for landscape photography." Read his full review here.
I think that should cover ANY question folks could possibly have about the Nikon D800.
I have been hearing from more and more people who are singing the praises of the Nikon D800 (well, not actually singing).
Several of my friends who shoot weddings have been shooting with the D800 and at first were concerned about the files size (that it would not be able to keep up the the fast pace demanded by weddings, fearing that while they were shooting it would still be busy writing the last file) and the other concern is that it would not be able to hold a candle to the Nikon D3 in low light situations.
Turns out neither of things is an issue.
As many of you know, I shoot weddings with Stacey Kane, and she has become a huge D800 fan, she uses it exclusively when shooting portraits and during weddings she shoots twice as many images with the D800 than she does with her beloved D3.
Stacey RAVES about the quality of the images that the D800 puts out.
So I know first hand what a great camera it is for shooting stills, but now I am learning what a phenomenal video camera it is as well.
I first heard it during my interview with Michael Clark, he said that some of the best video files he has seen are coming from the D800.
Then came this article that talks about how the Nikon D800 is taking a leading role in Hollywood.
It talks about how the D800 produces video quality good enough that it is used exclusively to film the show "Wilfred" and is also used pretty extensively in the HBO show "Dexter" as well. Check this story out.
It is (almost) unbelievable that you can get an exceptional pro quality still camera AND a video camera good enough for Hollywood all rolled into one camera body. But which is more impressive, that one camera can do both so well or that it sells for under $3000?
If you are considering a serious camera take a look at the Nikon D800.
Now keep in mind that this was by no means our "biggest prize package" by any stretch of the imagination, but hey, free photography stuff is always good.
So if you shoot with the Nikon D3200 and would be interested in reading (and keeping) the book, sharing your thoughts about its contents, then please drop us an email and we'll send it right out to you.
When I got the Adorama Flashpoint Remote Flash Trigger Kit I had two things in mind. First, I wanted to use the product as it was intended. That is, I wanted to trigger one flash to see how well the unit sends and receives information. Second, I wanted to trigger multiple flash units from a single transmitter/receiver set. However, I had no idea if that would be possible. So, let’s dive in.
First impressions.
The Adorama Trigger Kit consists of two units, a transmitter and a receiver. It is very well thought out, designed, and has a nice sturdy build quality to it. The receiver units’ hot shoe is of top quality, and so are the female mounting threads for the flash stand. I really love the assortment of adapters that come with the kit as well. Most of the wireless triggers that I have purchased in the past require at least one trip to the nearest Radio Shack for either “this adapter” or “that chord type”. That was not the case here.
I mentioned the threads on the bottom of the receiver as some of the competitor’s triggers do not have any kind of mounting system at all, at best they may come with some kind of lanyard instead. Add to the list of likable features, the fact that there are 16 channels to select from, and this Flash Trigger Kit is tough to beat.
Another feature I like is that this unit uses AAA batteries, no some expensive, hard to find specialty battery. I also like how small these units are and the fact that they keep such a low profile on the camera and on the flash stand, adding minimal hight to my existing flash setup.
With the Remote Flash Trigger Kit hooked up as intended, I was certainly impressed. What I found was constant fires time after time from anywhere in the room. The units worked just as I had hoped they might. Next, though, was a test of sorts. I had an image in mind. This image would require two flashes, and I wanted to trigger them both from one trigger.
This shot of my son taking a bath is an example of a “two flash” image. I used one trigger to fire both flashes. The receiver unit was threaded onto a flash stand, and with a flash attached to it via the hot shoe. The "first flash” has a blue filter/gel on it, and is aimed at the background. Next, I plugged in a cable that has a flash sync terminal on one end, and a ¼ inch mono on the other. The ¼ inch male end plugs into the Flashpoint receiver, and the sync went into a second flash unit. That second flash was beside the camera, aimed at my son and was in a Softbox. This set up worked just fine as well, shot after shot.
The Adorama Flashpoint X-Series Remote Flash Trigger Kit is a great set of wireless triggers. The build quality is better than most "off brand" trigger kits. The size of the two pieces is perfect, as is the “horizontal profile”. The important parts, such as the hot shoe and the threads, are of top quality and should supply you with trouble free wireless flashing for years of use. It was difficult to find a single reason not to recommend them. I like their reliability, and the design alone is a selling point for me.
Well done.
Thanks Steve for such a well written and thorough review, well done yourself!
We just received a case of books and DVD's for review and I would like your help in making it happen.
We do have a "pool" of reviewers that we usually select from, but these books are product specific so we need to match up the item to be reviewed with a person who has that product.
So let me tell you what we have (and who we are looking for):
Do you shoot with a Canon 5D Mark III? Because we have both a book AND DVD to be reviewed.
The are two (small) conditions, first - that that you own/use the product you are asking to review, and second - that you live within the continental United States (we can track shipments to make sure it arrived, and it also helps us save money on shipping).
That's it.
If you would like an example of what a reader review looks like check out this review done by Paula Apro of the Michael Clark book "Exposed".
In return for taking the time to do a review you will get to keep the item that we send you.
You will also need to follow our review policy(which essentially says "if you don't have something nice to say...").
So if you own one of the 5 items listed above drop us an email letting us know you are interested in reviewing and we will announce our reviewers this Friday (September 7th)... yup, the same day we announce our latest contest winners.